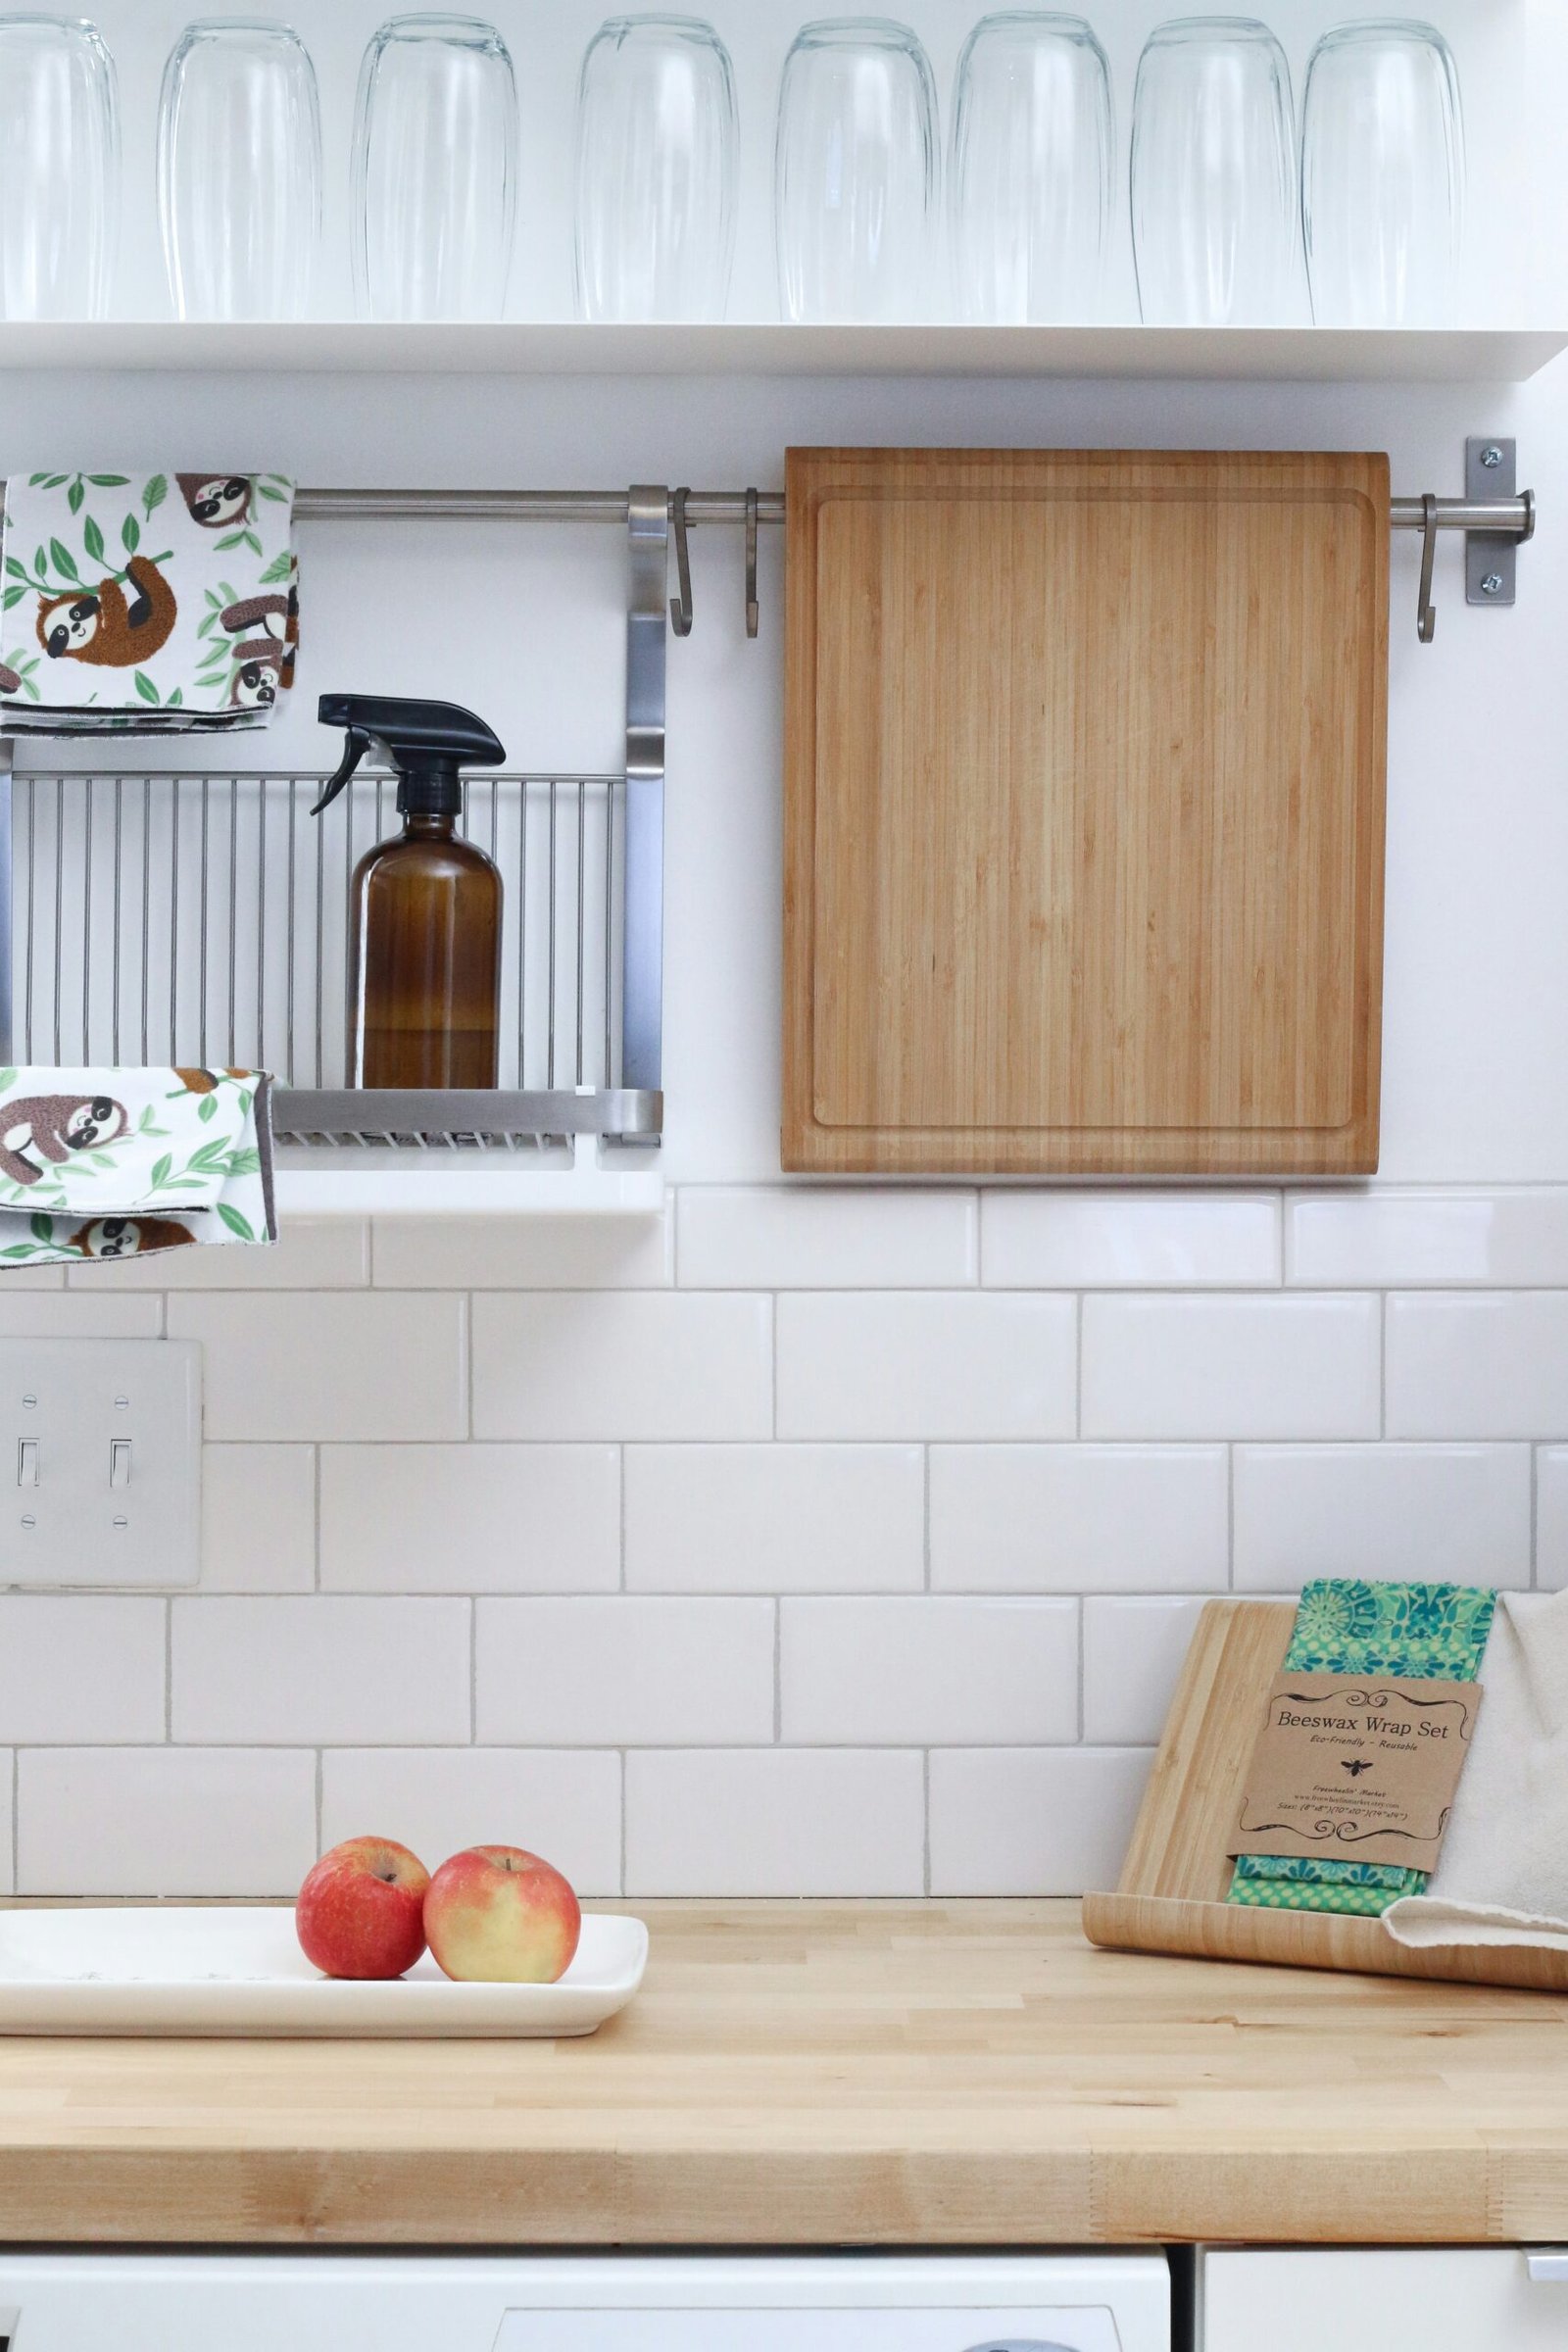
Introduction to Cabinet Preparation
Preparing cabinets before painting is a crucial step that significantly influences the outcome of any painting project. Proper cabinet preparation involves a thorough cleaning process that ensures the surface is ready for paint application. One of the primary reasons for meticulous cleaning is to enhance paint adhesion. When cabinets are properly cleaned, the paint bonds more effectively to the surface, leading to a more durable and long-lasting finish. Inadequate preparation can result in peeling, chipping, or an uneven appearance, undermining the overall aesthetic appeal of the cabinets.
Understanding what to clean cabinets with before painting is essential. Choosing the right cleaning solutions can help remove grease, dirt, and other contaminants that accumulate over time. Commonly, a mix of warm water and a mild detergent serves as an adequate solution for general cleaning. However, for tougher stains, a degreaser may be necessary to ensure a pristine surface. As you embark on this preparation process, consider alternative cleaning agents such as vinegar diluted in water, which can also effectively break down grime without leaving harmful residues.
Additionally, it is vital to assess the current finish on the cabinets. If they have a glossy surface, lightly sanding them after cleaning can create a better texture for the paint to adhere to. Ensuring that cabinets are entirely free from dust and moisture after cleaning ensures that the paint can smoothly adhere during application. Proper cabinet preparation not only contributes to a professional-looking finish but also extends the life of the painted surface. Therefore, allocating time and effort for this process is essential in achieving satisfactory results.
Understanding the Types of Cabinet Surfaces
When embarking on the task of painting kitchen or bathroom cabinets, it is essential to comprehend the various types of cabinet surfaces, as each material requires different cleaning methods and products. The three common cabinet surfaces are wood, laminate, and metal. Understanding these surfaces can greatly influence the choice of cleaning agents and techniques, ensuring effective preparation before painting.
Wood cabinets are a popular choice due to their natural aesthetic and durability. However, they can absorb grime and grease over time, making it crucial to clean them properly before painting. For wood surfaces, a gentle approach is often best. Using a mixture of mild detergent and water is generally effective; however, ensuring that the wood is not overly saturated is key to preventing damage. If the cabinets have a solid finish, gently wiping them with a soft cloth can help remove the surface dirt.
Laminate cabinets, on the other hand, are typically more resistant to stains and water. Cleaning laminate surfaces often requires specific attention to avoid causing damage. A solution of mild dish soap and warm water usually suffices for most stains. It is crucial to avoid abrasive cleaners, as they can scratch or dull the surface. Carefully wiping the laminate with a damp cloth will prepare it adequately for the painting process.
Lastly, metal cabinets, frequently found in industrial-style kitchens, may require harsher cleaning solutions due to their capacity to accumulate grease and rust. Non-abrasive degreasers are often suitable for these surfaces, enabling the removal of tough stains without harming the finish. When considering what to clean cabinets with before painting, selecting the right product based on the surface material is essential to achieve the best results.
Essential Cleaning Supplies
Before embarking on the task of painting cabinets, it is imperative to gather a selection of essential cleaning supplies. These tools and materials will aid in achieving a clean surface that maximizes paint adhesion and leads to a professional finish. Here is a detailed list of items that you will need.
First and foremost, a reliable degreaser is crucial. Products specifically designed to remove grease and grime can effectively break down years of buildup on cabinetry. Look for a degreaser that is suitable for use on wood and laminate surfaces, as this will ensure that what to clean cabinets with before painting will be effective without damaging the underlying material.
Next, consider using sponges for scrubbing away dirt. These should be firm enough to provide adequate scrubbing action but soft enough to prevent scratching the cabinet surfaces. For tighter areas or intricate patterns, a set of brushes in various sizes will be beneficial. A small, stiff-bristled brush can help clean corners and crevices that a sponge might miss, ensuring a thorough cleaning process.
Rags or microfiber cloths are also essential cleaning supplies. Once you have removed the majority of grime, these cloths will help to wipe down the cabinet surfaces, ensuring that no cleaning solution or residue remains. It is important to use lint-free cloths to prevent fibers from adhering to the cabinets, which could affect the finish of the paint.
Lastly, a pair of rubber gloves is recommended to protect the hands from harsh chemicals often found in degreasers and cleaning solutions. By preparing with these essential cleaning supplies, your cabinets will be well-prepared for painting, resulting in a desirable and lasting outcome.
Step-by-Step Cleaning Process
To effectively prepare your cabinets for painting, follow this detailed step-by-step cleaning process. Proper preparation ensures that the paint adheres well, providing a smooth and durable finish. Begin by removing all hardware from the cabinets, including handles and hinges. This step not only facilitates a thorough cleaning but also ensures that no components are inadvertently painted over, which could affect their functionality.
Next, dust all surfaces to eliminate loose particles that may interfere with the cleaning solution. A microfiber cloth or duster works best for this task. Focus on areas that are often overlooked, such as corners and crevices, to ensure a comprehensive dusting.
After dusting, it is essential to select an appropriate cleaning solution. A mixture of warm water and mild dish soap is typically adequate for most cabinets. For those with grease build-up, consider using a solution specifically designed to cut through grease, such as a degreaser. Apply the cleaning solution generously to a sponge or soft cloth. When addressing what to clean cabinets with before painting, ensure the cleaning solution is suitable for the cabinet material to prevent damage.
Begin scrubbing the cabinet surfaces, paying special attention to any stains or grime. Use gentle strokes to avoid scratching the finish. It may be helpful to use a toothbrush to clean intricate areas or detailed moldings. After scrubbing, rinse the surfaces with clean water using a separate cloth or sponge to remove any residual cleaning solution. This step is critical, as leftover soap can hinder paint adhesion.
Finally, dry the cabinets thoroughly with a clean towel. Allow adequate time for the surfaces to air dry completely before proceeding with the painting process. By following these steps, you will ensure that your cabinets are meticulously clean, setting the stage for a successful paint job.
Dealing with Grease and Grime
Addressing grease and grime that accumulate on kitchen cabinets can be a challenging task. However, it is essential to properly clean cabinets before painting to ensure a smooth and long-lasting finish. The first step is to gather appropriate cleaning agents that effectively cut through stubborn residues without causing damage to the cabinet surfaces.
One of the most recommended solutions for tackling tough grease is a degreaser. Many homeowners find success using commercial degreasers, which are specifically formulated to break down oil and grime. When using these products, it is essential to follow the manufacturer’s instructions regarding application and dwell time. For those looking for a more natural alternative, a mixture of hot water, vinegar, and baking soda can serve as an effective cleaner. Combine one part vinegar with two parts water and add a tablespoon of baking soda. This combination works wonders on greasy surfaces and is safe for most finishes.
To apply the chosen cleaning solution, utilize soft cloths or sponges to avoid scratching the cabinet surface. A microfiber cloth is highly recommended for its ability to trap dirt while being gentle on finishes. Dip the cloth in the cleaning solution and wring it out to prevent excess moisture from damaging the wood. Thoroughly wipe down the cabinets, paying close attention to areas where grease often collects, such as near stovetops and handles. In cases of particularly stubborn stains, a gentle scrubbing motion may be necessary, but always ensure that the cloth remains damp rather than soaking wet.
After cleaning, it is crucial to rinse the cabinets with a clean, damp cloth to remove any residual cleaning agents. This step is often overlooked, but failing to eliminate these residues can interfere with paint adhesion. Once the cabinets are clean and dry, they will be ready for the next steps in the painting process. Employing these techniques will ensure your cabinets are properly prepped and free from grease and grime, setting the stage for a professional-looking finish.
Avoiding Common Cleaning Mistakes
Cleaning cabinets before painting is a crucial step to ensure a smooth and long-lasting finish. However, it is essential to avoid certain common mistakes that can compromise the results of your efforts. One of the primary errors is using abrasive cleaners. These harsh products may effectively remove grime but can also damage the surface of your cabinets, leading to scratches or dull patches that will be more noticeable after painting. Instead, consider gentler alternatives that can effectively clean without harming the cabinetry. Mild dish soap mixed with warm water is often a safe option.
Another frequent mistake is neglecting to rinse thoroughly after cleaning. Residue from cleaners can interfere with paint adhesion, causing peeling or chipping in the future. To ensure a clean surface, always rinse cabinets with clean water after applying any cleaning solution. This step is especially important when using products designed to cut through grease and grime. It is also wise to use a lint-free cloth or a microfiber towel to absorb excess water, promoting a quicker drying process. Dry cabinets help prevent water spots and enhance paint adherence.
Furthermore, many individuals overlook the importance of preparation before cleaning. Failing to remove cabinet doors, drawers, or hardware can impede access to all surfaces, resulting in an incomplete clean. To achieve the best results, take the extra step of disassembling where necessary. This allows for thorough cleaning in every nook and cranny, ensuring no areas are left untreated. Additionally, ensuring adequate ventilation while cleaning is vital; many cleaning agents can emit strong fumes, making the environment uncomfortable. By avoiding these pitfalls in what to clean cabinets with before painting, you set the foundation for a flawless painting process.
The Importance of Proper Drying
Proper drying of cabinets after cleaning is an essential step that cannot be overlooked. This process ensures that the surface is adequately prepared for painting, ultimately affecting the longevity and quality of the finish. When cabinets are cleaned, they are often exposed to various cleaning solutions, which can leave residues or moisture behind. If not sufficiently dried, this residual moisture can create significant issues when it is time to apply paint.
Moisture on a surface can disrupt paint adhesion, leading to peeling, bubbling, or uneven finishes. Paint adheres best to surfaces that are clean and dry, as any trapped moisture can form a barrier that prevents the paint from bonding effectively. Hence, it is crucial to determine what to clean cabinets with before painting and ensure that all cleaning agents are removed thoroughly. This typically involves using non-abrasive cleaning methods and avoiding excessive water, which may linger on the surfaces.
To ensure cabinets are completely dry, consider several strategies. Firstly, after wiping the cleansed surfaces with a damp cloth, utilize a dry cloth to remove any remaining moisture. Secondly, allowing cabinets to air-dry for a sufficient duration, ideally several hours, will further assist in this process. In environments with higher humidity, extending the dry time is advisable. Utilizing a fan or a heater can also expedite drying, as air circulation helps to remove moisture more effectively.
By paying attention to this critical stage of cleaning, you can enhance the preparation of your cabinets for painting. Ensuring that moisture is entirely absent will contribute to achieving a desirable paint finish, free from defects related to inadequate drying. Therefore, taking the time to know what to clean cabinets with before painting and allowing for proper drying is integral for a successful outcome.
Prepping for Paint: Additional Steps
Once you have determined what to clean cabinets with before painting and completed the cleaning process, it is essential to take a few additional steps to ensure optimal results in your painting project. These steps not only enhance the adherence of the paint but also lead to a smoother finish and improved durability of your cabinets.
One of the primary considerations after cleaning is sanding the cabinet surfaces. Sanding not only helps to remove any remaining residues but also creates a rough texture that allows the paint to grip better. It is advisable to use fine-grit sandpaper, usually between 220 to 320 grit, as it can effectively smooth out imperfections without causing deep scratches. Focus on the areas that are particularly glossy or have a finish that could affect paint adherence. After sanding, it is critical to wipe away any dust and debris that may have formed during the process, as these particles can interfere with the paint application.
Another essential step to take is priming your cabinets. Primers serve a dual purpose: they help to seal the wood and enhance paint adherence while also providing a uniform base for the topcoat. Choosing a primer designed for your cabinet material is crucial; for instance, a shellac or oil-based primer is often suitable for glossy surfaces, while latex primers work well with porous surfaces. Applying one or two coats of primer before painting will ensure that the color appears consistent and the longevity of the paint is optimized.
In conclusion, while identifying what to clean cabinets with before painting is a vital step, preparing the surface further through sanding and priming will greatly contribute to the overall success of your painting project. This comprehensive approach ensures that your cabinets not only look good initially but will also maintain their appearance over time.
Conclusion and Final Tips
Cleaning cabinets thoroughly before painting is a vital step that should not be overlooked. By taking the time to address this aspect, one can ensure that the paint adheres properly and results in a smooth, professional finish. Throughout this guide, we have discussed various methods and solutions for what to clean cabinets with before painting, emphasizing the significance of selecting the right cleaning agents and techniques.
One key approach involves using a degreaser and appropriate scrubbing tools to eliminate grease, grime, and dust accumulation. Remember that a clean surface not only improves adhesion but also enhances the longevity of the paint job. When considering what to clean cabinets with before painting, it is essential to select non-toxic and environmentally safe products whenever possible to ensure the safety of your household and the preservation of the cabinetry’s durable finish.
Additionally, allowing ample time for the cleaning process is crucial. This activity may seem tedious, but investing effort into achieving a pristine surface will yield satisfactory results. Always remember to rinse away any cleaning solution to prevent residue from affecting the paint’s adherence. Following the preparation, consider sanding the surface lightly to promote better paint integration. Properly executed, these steps will set a solid groundwork for a successful cabinet repainting project.
As a final tip, do not rush through the cleaning phase. Patience will serve you well, ensuring that the surface is impeccably prepared for painting. Following the guidelines outlined in this post will help you achieve a flawless finish, transforming your cabinets and enhancing the overall aesthetics of your space.