Attaching a toe kick to your cabinets is an essential step in achieving a polished and professional look for your kitchen or bathroom. This guide will walk you through the process, ensuring a secure and seamless installation.
What Is a Toe Kick?
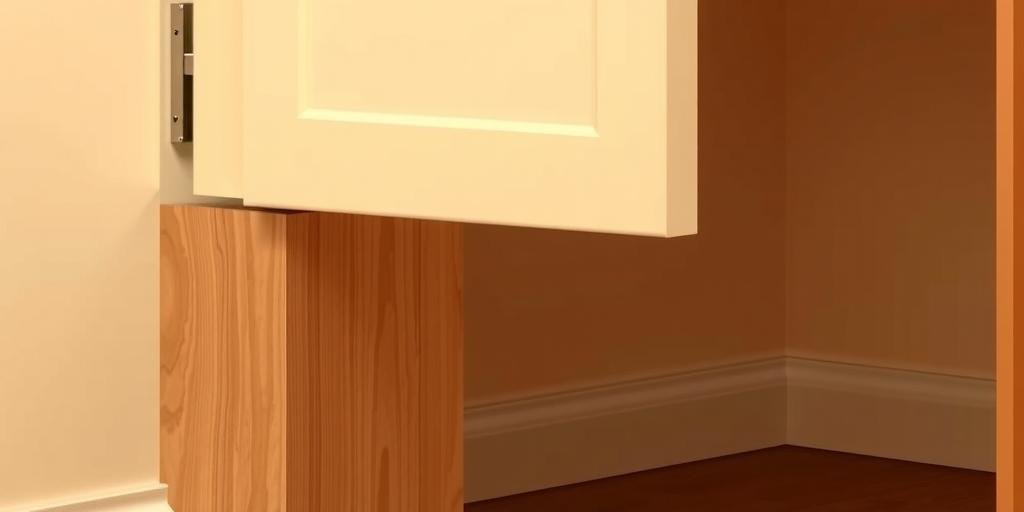
A toe kick is the recessed space at the bottom of base cabinets, allowing you to stand closer to the countertop without straining your feet. It’s typically covered with a matching panel for aesthetics and protection.
Materials and Tools You’ll Need
Before starting, gather the following:
- Toe kick panel (pre-cut or custom-sized)
- Measuring tape
- Pencil for marking
- Circular saw or jigsaw (if cutting is required)
- Drill and screws or construction adhesive
- Level
- Clamps (optional for stability)
Step-by-Step Guide to Attaching a Toe Kick
Step 1: Measure the Space
Measure the length and height of the area where the toe kick will be installed. Ensure the panel fits snugly between the cabinets.
Step 2: Cut the Toe Kick Panel (If Needed)
If your panel isn’t pre-cut, use a saw to trim it to the correct dimensions. Sand any rough edges for a smooth finish.
Step 3: Position the Panel
Place the panel against the base of the cabinets, ensuring it’s flush with the floor and aligned properly. Use a level to confirm it’s straight.
Step 4: Secure the Toe Kick
You can attach the panel using one of these methods:
- Screws: Drill pilot holes and secure the panel with screws for a sturdy hold.
- Construction adhesive: Apply adhesive along the back of the panel and press firmly into place.
Step 5: Check for Stability
Ensure the panel is firmly attached and doesn’t wobble. Make adjustments if necessary.
Toe Kick Installation Methods Comparison
| Method | Pros | Cons |
|---|---|---|
| Screws | Strong, removable, adjustable | Visible screw heads |
| Adhesive | No visible fasteners, quick | Permanent, harder to replace |
Tips for a Professional Finish
- Paint or stain the toe kick to match your cabinets for a cohesive look.
- Use caulk to fill any gaps between the panel and the floor.
- For floating cabinets, ensure the toe kick is recessed correctly to maintain functionality.
Frequently Asked Questions (FAQ)
How Do I Remove an Old Toe Kick?
If attached with screws, simply unscrew and pull it away. For adhesive, use a pry bar and carefully loosen the panel.
Can I Install a Toe Kick Without Removing Cabinets?
Yes! Measure carefully and slide the panel into place, securing it as described above.
What’s the Standard Height for a Toe Kick?
Most toe kicks are 3-4 inches tall, but always measure your space for accuracy.
Should I Use Plastic or Wood for a Toe Kick?
Wood offers durability and a custom finish, while plastic is moisture-resistant and ideal for wet areas.