Installing a built-in refrigerator cabinet can dramatically improve your kitchen’s functionality and style. This comprehensive guide will walk you through the process of designing and constructing a custom cabinet that perfectly fits your refrigerator, maximizes space, and enhances the overall look of your kitchen.
Why Build a Refrigerator Cabinet?
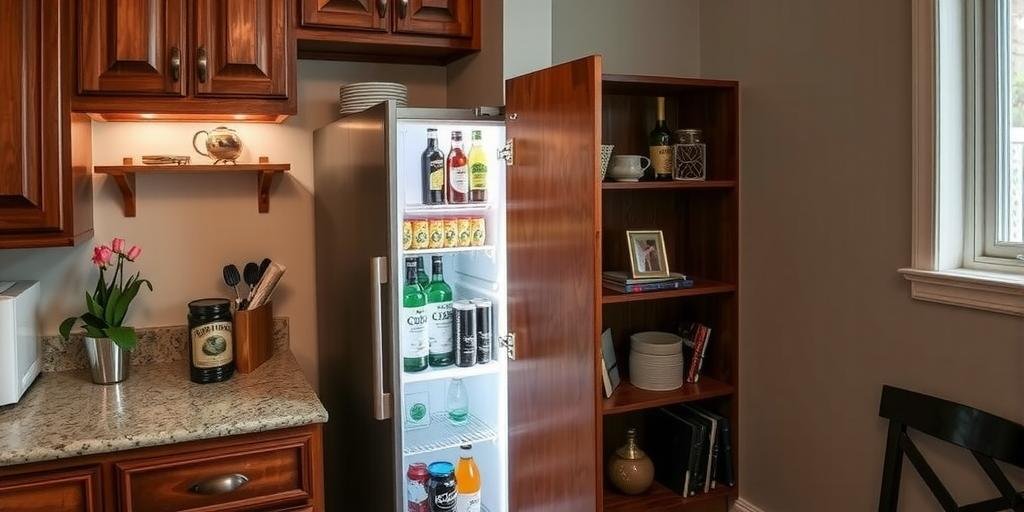
A refrigerator cabinet offers numerous benefits:
- Seamless integration with your kitchen design
- Improved organization by utilizing vertical space
- Enhanced aesthetics with a streamlined, custom look
- Protection for your refrigerator from dust and accidental bumps
Planning Your Refrigerator Cabinet
Measure Your Refrigerator
Before building, it’s crucial to accurately measure your refrigerator. Use the following table to record essential dimensions:
| Dimension | Measurement | Notes |
|---|---|---|
| Width | ___ inches | Leave at least 1/2 inch clearance on each side |
| Height | ___ inches | Include hinge space |
| Depth | ___ inches | Allow space for ventilation |
Always consult your refrigerator’s manufacturer guidelines for recommended clearances to ensure proper ventilation and operation.
Choose Materials
Select durable, moisture-resistant materials such as:
- Plywood (3/4 inch thick)
- MDF (Medium Density Fiberboard)
- Solid hardwood for trim and face frames
Choose finishes and colors that complement your existing kitchen decor.
Design Considerations
When designing your cabinet, keep the following in mind:
- Ventilation: Proper airflow is critical to avoid overheating
- Accessibility: Ensure the refrigerator doors open fully without obstruction
- Surrounding Cabinets: Align with adjacent cabinetry for a cohesive look
- Depth: Decide if you want a flush, built-in look or space for a countertop overhang
- Overhead Cabinet: Consider adding storage above the fridge
Tools and Supplies Needed
Gather the following essential tools and supplies before starting:
- Measuring tape and pencil
- Circular saw or table saw
- Drill and driver bits
- Wood glue and wood screws
- Level and square
- Clamps
- Sandpaper
- Paint or stain (optional)
- Trim molding
- Safety equipment: gloves, goggles, dust mask
Step-by-Step Guide to Building a Refrigerator Cabinet
Step 1: Prepare the Space
Clear the installation area and verify that the floor is level. Use shims if necessary to create a flat, stable foundation.
Step 2: Cut the Panels
Using your measurements, cut the following cabinet components:
- Two side panels
- Top panel
- Bottom support rail (optional)
- Back panel (optional, for extra stability)
Dry-fit all pieces before assembly to ensure accuracy.
Step 3: Assemble the Frame
Attach the side panels to the top panel using wood glue and screws. Check for square alignment with a carpenter’s square. Add the back panel if desired for added rigidity.
Step 4: Install the Cabinet
- Slide the assembled frame into place
- Secure it to the wall studs with screws through the side panels
- Ensure the cabinet is level and plumb using a spirit level
Step 5: Add Trim and Finishing Touches
- Install trim molding around the cabinet edges for a polished look
- Fill screw holes and sand surfaces smooth
- Paint or stain as desired to match your kitchen
- Consider adding an overhead cabinet for extra storage
Step 6: Slide in the Refrigerator
- Carefully move the refrigerator into the cabinet space
- Ensure there’s adequate clearance on all sides
- Plug in and test the unit
Tips for a Professional Finish
- Use cabinet-grade plywood for durability
- Pre-drill screw holes to prevent wood splitting
- Apply edge banding for a clean look on exposed edges
- Leave proper ventilation gaps as recommended by the refrigerator manufacturer
- Coordinate cabinet height with adjacent cabinetry for a seamless appearance
Common Mistakes to Avoid
- Insufficient ventilation leading to overheating
- Incorrect measurements causing fitment issues
- Not leveling the cabinet, resulting in misaligned doors
- Using low-quality materials prone to warping over time
- Neglecting access space for refrigerator door swing
Maintenance and Care
To keep your refrigerator cabinet looking and functioning its best:
- Regularly clean vents to maintain airflow
- Check for moisture buildup and address leaks promptly
- Touch up paint or finish as needed
- Inspect hardware and tighten screws periodically
Cost Breakdown
The total cost of building a refrigerator cabinet depends on materials, size, and finishes. Here’s a typical breakdown:
| Item | Estimated Cost |
|---|---|
| Plywood (2-3 sheets) | $50 – $150 |
| Trim molding | $20 – $50 |
| Fasteners and glue | $10 – $20 |
| Paint or stain | $15 – $30 |
| Tools (if not owned) | $100 – $300+ |
| Total Estimated Cost | $95 – $550+ |
Keep in mind that hiring a professional carpenter will increase costs but may ensure a flawless finish.
Frequently Asked Questions
Do I need to leave space around my refrigerator in the cabinet?
Yes, always leave at least 1/2 inch clearance on each side and the top, or follow the manufacturer’s ventilation requirements. This prevents overheating and allows the refrigerator to function efficiently.
Can I build a cabinet for a counter-depth refrigerator?
Absolutely. Counter-depth refrigerators are designed to sit flush with cabinetry. Measure carefully to create a custom fit, ensuring you allow for door swing and ventilation.
Should I add a back panel to my refrigerator cabinet?
Adding a back panel is optional. It can increase structural stability but may impact ventilation. Many prefer leaving the back open or adding a partial panel for support while allowing airflow.
What kind of paint or finish is best?
Use kitchen-grade paint or a durable finish that resists moisture and heat. Semi-gloss or gloss finishes are easy to clean and maintain.
Is it necessary to secure the cabinet to the wall?
Yes, securing the cabinet to wall studs ensures it remains stable, especially when sliding in or pulling out the refrigerator.
Can a refrigerator be completely enclosed?
No, it is not recommended. Refrigerators need adequate ventilation to dissipate heat. Always follow the manufacturer’s clearance guidelines.
How long does it take to build a refrigerator cabinet?
For an experienced DIYer, the project typically takes 4-8 hours, accounting for measuring, cutting, assembly, finishing, and installation.
Can I add cabinets above the fridge?
Yes. Adding an overhead cabinet maximizes storage and creates a seamless look. Ensure it’s properly anchored and aligned with adjacent cabinetry.
Conclusion
Building a custom refrigerator cabinet is an achievable DIY project that adds beauty, value, and efficiency to your kitchen. With careful planning, accurate measurements, and quality materials, you can create a professional-looking, built-in refrigerator enclosure that complements your home’s style. Remember to prioritize ventilation and ensure proper fitment to enjoy a functional and attractive kitchen upgrade for years to come.