Upgrading your kitchen or bathroom cabinets from exposed hinges to hidden hinges can give your space a sleek, modern look. This guide will walk you through the process, tools needed, and key considerations for a successful transformation.
Why Switch to Hidden Cabinet Hinges?
Hidden hinges (also called concealed hinges or European hinges) offer several advantages:
- Cleaner appearance – No visible hardware on cabinet exteriors
- Adjustability – Many models allow for fine-tuning of door position
- Better functionality – Smooth operation and full door clearance
- Modern aesthetic – Creates a seamless, high-end look
Tools and Materials Needed
| Tool/Material | Purpose |
|---|---|
| Hidden hinges | Replacement hardware (typically 35mm cup hinges) |
| 35mm Forstner bit | For drilling hinge cup holes |
| Drill/driver | For installation and adjustments |
| Screwdrivers | For hinge adjustments |
| Measuring tape | For precise hinge placement |
| Wood filler | To fill old hinge holes if needed |
Step-by-Step Conversion Process
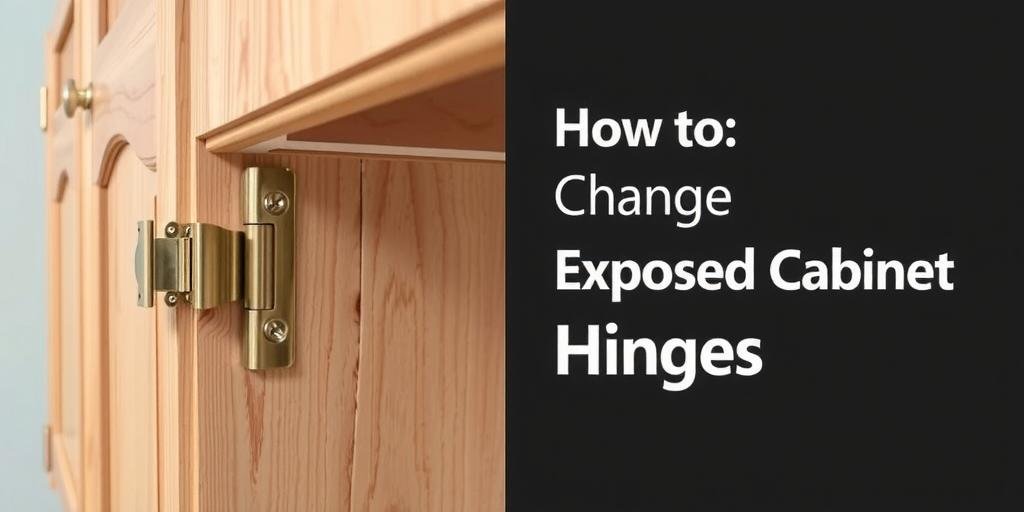
1. Remove Old Exposed Hinges
Begin by:
- Removing all cabinet doors
- Unscrewing and removing old hinges
- Saving screws in case they’re needed for new hinges
- Filling old screw holes with wood filler if necessary
2. Measure and Mark New Hinge Locations
For standard hidden hinges:
- Measure 37mm from the door edge for cup hole center
- Mark locations 100-120mm from top and bottom of door
- Use a square to ensure marks are perfectly perpendicular
3. Drill Cup Holes for New Hinges
Critical steps:
- Use a 35mm Forstner bit at medium drill speed
- Drill to depth specified by hinge manufacturer (typically 12-13mm)
- Keep drill perfectly perpendicular to door surface
- Clean out wood chips from holes
4. Install New Hidden Hinges
Installation process:
- Insert hinge cups into drilled holes
- Secure with provided screws
- Attach mounting plates to cabinet frame
- Hang doors and make initial adjustments
5. Fine-Tune Hinge Adjustments
Most hidden hinges offer three types of adjustment:
- Depth adjustment – Moves door closer/further from frame
- Height adjustment – Raises/lowers door position
- Side adjustment – Shifts door left/right
Common Challenges and Solutions
Mismatched Hole Patterns
If new hinge holes overlap with old ones:
- Use wood filler to patch old holes
- Consider slightly adjusting hinge placement
- Use larger hinge plates if available
Cabinet Frame Obstructions
When frame interferes with hidden hinge mechanism:
- Use thin cabinet hinges for narrow frames
- Consider partial overlay instead of full overlay
- Add shims behind mounting plate if needed
FAQ Section
Can I convert any cabinet to hidden hinges?
Most cabinets can be converted, but frameless cabinets are easiest. Face-frame cabinets may require special hinge types or modifications.
Do I need to buy new doors for hidden hinges?
No, existing doors can typically be modified unless they’re very thin (<19mm). The 35mm cup hole must be drilled into solid material.
How many hinges per cabinet door?
Standard practice is two hinges for doors up to 24″ tall, three hinges for taller doors, and four for very heavy doors.
Are all hidden hinges the same?
No, they vary by overlay type (full, partial, inset), opening angle (90°, 110°, 170°), and weight capacity. Choose hinges matching your cabinet style.
Can I do this conversion without removing doors?
Not recommended. Removing doors makes the process much easier and reduces risk of damage to cabinets or doors.
Final Tips for Success
- Purchase high-quality hinges from reputable brands
- Work on one cabinet at a time to maintain reference points
- Use a hinge drilling template for perfect hole placement
- Allow wood filler to fully dry before finishing
- Take time with adjustments for perfect door alignment